Color Challenge #7 – Navy and Lavender

I did it everybody! I got through my entire color challenge using this color pairing chart.

18019ae2ac192e164480994d68640371

Last on the list is navy and lavender. I two coats of Marbles For Polish Lavender Macaron and then hand painted messy stripes on with Zoya Sailor. I actually started fairly neat on my right hand but got impatient and by the time I got to my left hand this was the result.

IMG_3419a

I think this is actually the mani that got the most compliments out of all my color challenge ones. I was a little bummed about how sloppy it was at first, but the more I looked at it the more I liked it. My husband even said it looked like I did it on purpose because of how evenly spaced the stripes were.

IMG_3426a

The color pairing itself isn’t my favorite, but I think this is one of my favorites out of the whole challenge. I also realized that I have a striped shirt that’s these exact colors! If you have any color pairings on this list please go to my facebook page and post your pictures in the comments of the corresponding posts.

And on another polish note, I’ll be releasing my Sailor Moon Crystal collection as a discounted pre-order this Friday, September 4th! Single full sized bottles will be available for purchase at $9 each AFTER the pre-order is over; the last day to pre-order will be September 8th. During the pre-order you can get either the full sized collection for $40 or the mini collection for $20.

IMG_3417 IMG_3300

Blog posts and swatches for this collection are starting to come out, so keep an eye out for those. You can also find more info about these polishes on my facebook page or my facebook group, Marbles For Polish and More!

Color Challenge #6 – Turquoise and Black

We’re coming up to the end of my color challenge posts now. The 6th combo is turquoise and black which I was pretty excited about. I knew exactly what I wanted to do for these colors.

18019ae2ac192e164480994d68640371

I tried a new to me technique, water spotting. I started with a base of Zoya Talia. I then started the same process you would when water marbling. I dropped some Zoya Willa over the water, but instead of adding other colors or making a pattern in the polish, I used a spritz bottle filled with alcohol and sprayed the polish. The alcohol causes the polish to separate and you can dip your fingers in just like water marbling.

IMG_3329a IMG_3306a

I’m not sure if my water conditions weren’t right, but most of my nails got more of a smokey effect. It still looks cool, but I was going more for of a veiny look to represent actual turquoise. The closest I got was on my pinkie and ring finger on my right hand, which were the first nails I did.

IMG_3330a

I’m definitely going to try this method again at some point. Have you tried water spotting before or do you have a turquoise and black mani to share? Feel free to post your color combo manis in the comments on my facebook posts that link to each color challenge blog post.

I also wanted to share my customer appreciation sale. I know a lot is going on in the indie polish world right now between damaged nails, deception, and bigger brands closing. I haven’t had any issues with my customers and I’m so thankful for that. I will continue to create and test to bring you all a quality product, as you have continued to support me and other great indie brands. Use the code IndieLove at marblesforpolish.com for 15% off your order through September 3rd.

indielove

Color Challenge #5 – White and Copper

I’m getting close to the end of my color challenge. It’s been super fun coming up with these great color combos and what kind of nail art to do with them. This time around I did a white and copper mani with Zoya Purity and Autumn.

18019ae2ac192e164480994d68640371

I started with one coat of Purity and then water marbled Purity and Autumn. I haven’t done a water marble in a while and I think this was pretty successful for how long it’s been and how rushed I was at the time. This one came out pretty consistent because of the way I made the pattern in the water. I also used a peel off base coat around my fingers instead of vaseline and tape like I normally do. It really helped with clean up so I think I’ll do that from now on.

IMG_3274a IMG_3278a

I think next time I do another water marble I’ll experiment with different patterns to see what I can get. I do like this color combination but I’m not sure if it’s really me because I’m always a little iffy about white nails on myself. Next up will be turquoise and black which I’m pretty excited about. Let me see all your color combo manis in the comments of my facebook posts!

Color Challenge #4 – Red and Gold

I’m back with another color challenge today! This time around is red and gold, only three more to go now! I’m very excited about doing the next few.

18019ae2ac192e164480994d68640371

I used two coats of Zoya Livingston as a base and I sponged on Marbles For Polish Golden Daze as a glitter gradient. Golden Daze is one of my newly released glitters than can be worn on it’s own or as a glitter topper. You can find it along with another ten new polishes in my etsy shop!

IMG_2681a IMG_2685a

Here are a couple photos with flash to show the gold holo micro glitter in Golden Daze. I love how sparkly it is!

IMG_2701a IMG_2692a

How do you guys like this one? I’m still obsessed with all things holo since it’s been so sunny lately, so Golden Daze and my other glitter toppers really satisfy my craving for rainbow bling. And don’t forget that if you have a red and gold mani, or any of the other color combos I’ve posted do far, go check out my facebook page and comment with your pictures on each post.

Color Challenge #3 – Mint Blue and Light Pink

I’m back with my third color challenge post! This one called for using mint blue and light pink together. I searched my Zoya shelves and found the closest I had to these colors, Lillian and Cassi. I think I should have tried for a pink from another brand because Cassi ended up looking more peachy over the blue.

18019ae2ac192e164480994d68640371

I wanted to try my hand again at a candy floss mani and thought these soft colors would be great. I started with two coats of Lillian then dropped some of Cassi into the back of a swatch nail wheel to let it get a little goopy. When Cassi was a bit dry I used a toothpick to lay strings of the polish over my nail. I think besides Cassi being a bit too peachy, it may not have been the best finish for this method, a regular creme may have been best.

IMG_2638a IMG_2639a

Despite some not so great choices, I do kind of like this mani and I got some compliments on it. I may try this method again with different colors, possibly a more shimmery base with a creme on top.

IMG_2646a

Have you ever tried this method? I’d love to see your candy floss and color challenge manis in the comments of my facebook post. And don’t forget (or for those of you who haven’t seen) that I’m releasing my essentials polishes along with a few others today! Check out my Etsy shop for the new polishes and more.

Color Challenge #2 – Teal and Silver

Hey everybody, I’m back with the next color pairing on my challenge list. Today I’ve got teal & silver, this is my favorite one so far but I’ve still got the last few to paint still.

18019ae2ac192e164480994d68640371

This is actually my first negative space mani, though I kind of did a faux version since I had some staining. I started with a tinted base coat and then a coat of Zoya Lulu to cover up the staining. They were both still sheer enough and close enough to my natural color that it still looked like negative space under the other colors.

IMG_2618a IMG_2622a

I then used scotch tape to create a triangle stencil and paint Zoya Trixie closest to my cuticle. The tape ended up getting a little messy so I had to do some extra clean up without removing the sheer polish. I definitely could have done it a better way but once I started I just rolled with it. Next I used striping tape to separate the next area and painted Zoya Wednesday up toward the tips of my nails. I did a top coat which evened out some of the imperfections.

IMG_2632a

I’m so happy with how this one came out. I can see myself doing this negative space pattern again with other colors as well as trying other negative space manis. I would love to see both your teal & silver pairings and any negative space manis you have. To share, please check out the post I’ve made for this blog entry on my facebook page and leave your pictures in the comments.

Color Challenge #1 – Coral and Purple

I really love reading beauty articles, sometimes I even read certain ones more than once even if I’m not going to use any of the tips or techniques. I recently found an article that had a lot of great tips and images, one being this image for mani & pedi color pairings that I spoke of in my last post.

18019ae2ac192e164480994d68640371

I took this more as pairing these colors in nail art  than doing one color on your fingers and one on your toes. So I’ve decided to do each of these and blog about my pairings. I’m doing them in order, so without further ado, here is coral and purple.

IMG_2603a

For this mani I started with two coats of Zoya Maya and then top coated it. I used ric rac vinyl nail stencils from Vinyl It Up and painted Zoya Serenity over top then top coated again. I still haven’t quite gotten the hang of vinyls yet but I think they came out alright. I do like this color combo and I love how squishy it looks with the more sheer Maya underneath.

IMG_2606a

I’m already having a lot of fun with these manis and at the time of this post I have the next few already done and photographed. I would love to see your color pairings too! You can post your pictures of coral/purple manis directly on my link for this blog post on my facebook page so everybody can see and get ideas of their own. Look out for my teal & silver mani on Monday, I’m so excited about that one!

Champagne Glitter Gradient

Hey, long time, no see! Sorry for being absent here for a bit, but if you’d like to stay updated in other ways I do post on facebook and instagram. I should have a bunch of posts coming up this next month because I’ll be doing a nail art challenge using this color pairing chart. Pedis aren’t necessary, I’m doing it all on my finger nails.

18019ae2ac192e164480994d68640371

If you would like to join me I’ll be doing them in order starting on August 7th and then posting every Monday and Friday in August until I’ve finished. You can post yours to any social media, but I encourage you to post your pictures in the comments when I post each blog entry on facebook so everybody can see them in one place.

And now on to the actual mani the post is about! I used two coats of Zoya Jules which is a beautiful shimmery taupe polish. I sponged on one of my upcoming Marbles For Polish glitters, Lady Charms. This glitter topper is similar to China Glaze Fairy Dust and Golden Enchantment because it’s both a gold and silver micro glitter.

IMG_2572a IMG_2589a

This mani really reminds me of a bubbly champagne. I think I would wear this again to a classy event because it’s neutral but a little bit jazzed up. Are you guys excited about the new polishes I have coming out? If you haven’t seen them yet check out my instagram for some sneak peeks and look out for all of them early to mid August.

Black and Gold French

For today’s mani I have a quick and easy French tip. I wanted to go a different route and so a black base with a gold tip. Originally I wanted to do more of a true yellow gold but I wanted to use both Zoya polishes and somehow I don’t have Ziv or Goldie (I could have sworn I owned Ziv!). So instead I reached for Jules, a more champagne gold. The colors actually go very well together in this mani.

I started with two coats of Dovima, which is a shimmery black matte. Then I free handed Jules over the tips of my nails. I didn’t use a top coat at first so you could see the matte and shiny polishes together.

IMG_2418a IMG_2434a

The I added a top coat which I think I liked better. It makes Dovima darker and more sparkly and just finishes the look. I think the glossy top coat also evens out the look of the tips a bit better since they were done free hand and aren’t completely even.

IMG_2439a IMG_2449a

Do you like the unconventional twist on a French mani or are you a traditionalist? I personally think you can be much more creative this way and get so many different combinations.

Zoya Paradise Sun Collection

Today I’m back with the second part of my Zoya post. I’ve got the Paradise Sun collection for you this time. These polishes go so well together and can really be worn all year round. Each one has colorful flecks that add dimension and even more color. As with my last post, the left photos (bottle shots) are with no flash and the right side photos are with flash. I did 2 coats of each with top coat except Genesis which is 3. Now lets get started!

press sample

“Aphrodite by Zoya can be best described as a vibrant summer red with a micronized pearl metallic finish and multi-hued flash that brings it to life. Think of fresh and juicy tropical fruit!” This polish is my absolute favorite out of both the summer collections. It’s more of a jelly base than any of the others which really lets the golden red flecks show through. It’s fiery and bright and I just can’t get enough of it! I don’t think any pictures can do Aphrodite justice, you really have to see it in person. This one went on smooth and was easy to clean up. Since it’s more of a jelly I recommend 2-3 coats.

IMG_2341a IMG_2353a

“Mae by Zoya can best be described as a warm magenta pink with a micronized metallic pearl finish, reminiscent of vibrant Mediterranean flowers.” I know I say that I don’t like pinks often, but the bright hot pinks aren’t nearly as bad to me. Mae is very shimmery and definitely perfect for summer. This one also needs 2-3 coats. Again, easy application and clean up.

IMG_2325a IMG_2339a

“Isa by Zoya can be best described as a deep blue-based purple with a micronized metallic pearl finish and an aqua flash that embodies the beauty of exotic island flowers!” Besides Aphrodite, Isa is probably the most dynamic color out of this collection. I feel like the purple itself  is a little dark for summer but the blue shimmer really brightens it up. Isa is very pigmented so you can get away with 1-2 coats and the formula was nice and smooth and easy to work with. Much like Serenity from the Island Fun collection, Isa had a bit of a skunky smell from the pigment used, but once dry and/or top coated it goes away.

IMG_2362a IMG_2375a

“Oceane by Zoya can be best described as a true turquoise with a micronized metallic pearl finish that reflects the clearest blue ocean waters!” This polish is so delicate yet it packs a punch at the same time. It looks a bit like blue chrome since the flecks and base are very similar in color. I usually lean more towards teal and green polishes rather than blue but I really like how it looks on me. As with all the other polishes so far, application and clean up were very easy. You can get away with 1-2 coats of Oceane.

IMG_2401a IMG_2411a

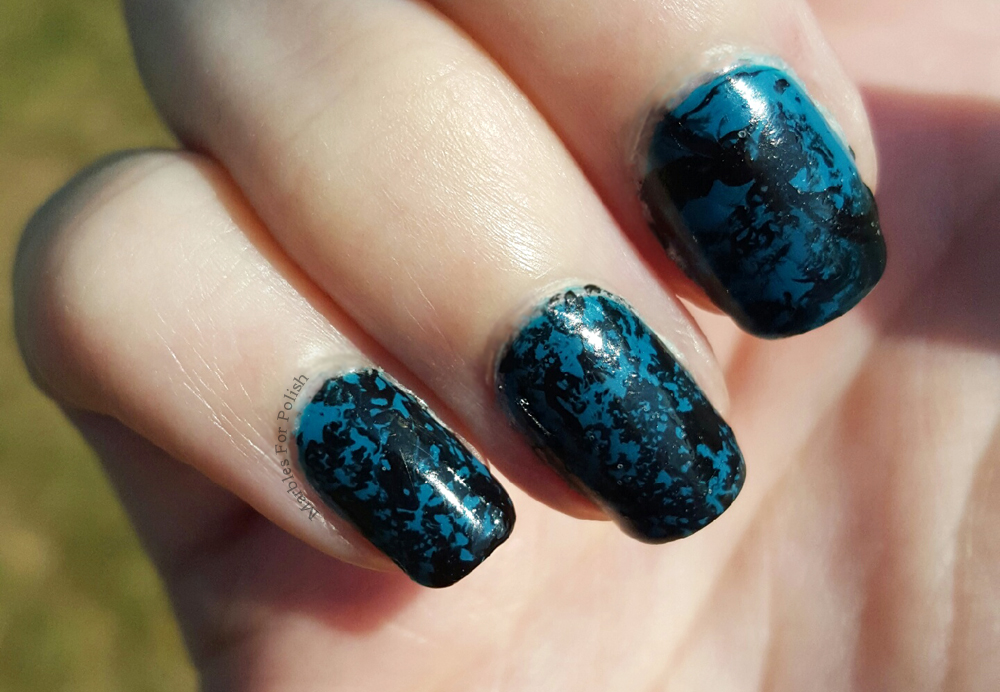
“Selene by Zoya can best be described as a true teal with a micronized metallic pearl finish. A unique shade with an aqua fleck that resembles deeper layers of ocean water.” If you’re looking to do some mermaid nail art this summer I would definitely pick up Selene. In some light you can get a bit of a blueish sheen to this polish but overall it’s like Oceane where the base and shimmer are almost the same color. It’s pretty pigmented so you can use 1-2 coats and be fine. Application and clean up were smooth and easy.

IMG_2381a IMG_2390a

“Genesis by Zoya can be best described as a crystalline white with a micronized metallic pearl finish – designed to look like micro-fine diamond dust!” This one gave me a bit more trouble like most whites but the end result is worth it. It’s very hard to capture, but Genesis is a great alternative for those of you who want to do white nails but don’t like how plain white polish looks on you. It’s got great colorful shimmer that you can see a bit in my photos. This polish is a bit thicker than the others and went on a little streaky in the first couple coats but was fine after a third. I would recommend 2-4 coats for Genesis. Once I got it opaque there were no streaks and clean up was very easy.

IMG_2307aIMG_2318a

So that’s it for the Paradise Sun collection. Each of these polishes can be purchased for $9 each or you can get the whole set for $54 at Zoya.com. If you haven’t seen my post about the Island Fun collection click HERE. I’d love to hear your thoughts on both collections and if you’d like any comparison photos let me know and I can see if I have the polishes to compare.